
How to Paint a Villa Interior and Exterior in Dubai: Step-by-Step Guide
Painting a villa is more than just adding color to the walls — it’s about creating a comfortable, stylish, and long-lasting space. Whether you are refreshing your interiors or protecting your villa exterior from Dubai’s hot weather, using the right painting process makes all the difference.
In this blog, we’ll walk you through the correct way to paint a villa interior and exterior, so you know exactly what to expect when hiring a professional painter in Dubai.
🎨 Interior Villa Painting
1. Preparation is Key
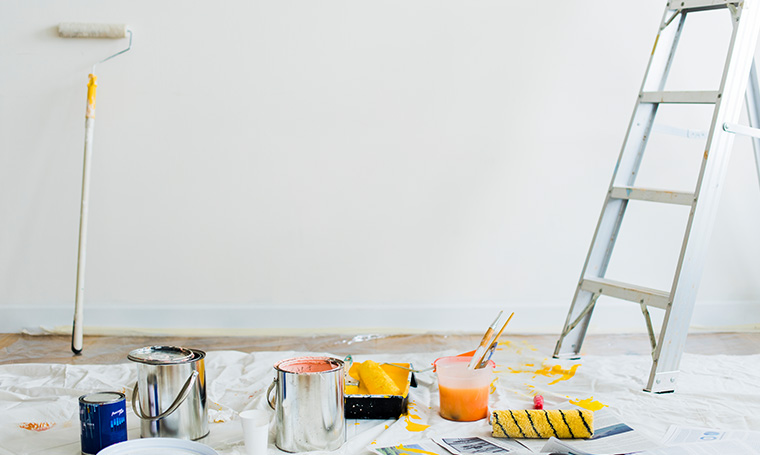
Before painting begins, all furniture is moved or covered with protective sheets. Floors are secured with drop cloths to avoid stains. Walls are carefully inspected for cracks, holes, or damp patches. Any imperfections are repaired with filler or putty, then sanded for a smooth finish.
2. Apply Primer
A primer coat ensures the paint sticks well to the surface and prevents stains or previous wall colors from showing through. This step is especially important if you’re switching from dark colors to lighter shades.
3. Painting Application
High-quality emulsion or washable paints are used for villa interiors. Painters apply at least two coats, using rollers for wide walls and brushes for corners. Each coat is allowed to dry fully before the next is applied, ensuring smooth and even coverage.
4. Final Touches
After the main work is done, painters check for missed spots, clean any paint drips, and carefully remove masking tape. The result is a neat, fresh interior that matches your villa’s style.
🏡 Exterior Villa Painting
Dubai’s climate can be tough on exterior walls, with sun, humidity, and dust wearing them down. That’s why professional exterior painting is designed to be both beautiful and durable.
1. Surface Cleaning
Exterior walls are first washed to remove dirt, dust, algae, and any peeling paint. In many cases, a pressure washer is used for a deep clean.
2. Repairs and Sealing
Cracks are filled with exterior-grade fillers, and any damp or damaged areas are sealed with waterproofing materials. This step prevents water leakage and structural damage.
3. Primer and Protection
A special weather-resistant primer is applied to prepare the surface for paint. This ensures long-lasting adhesion and protects walls from Dubai’s heat and humidity.
4. Applying Exterior Paint
At least two to three coats of UV-protected, weatherproof paint are applied. These paints resist fading, peeling, and cracking even under harsh sunlight. Rollers and spray guns are used for large surfaces, while brushes handle trims and corners.
5. The Finishing Stage
After painting, the villa is inspected to ensure uniform color and smooth coverage. Some homeowners also choose an additional protective coat for extra resistance against dust and moisture.
✅ Why Hire Professional Villa Painters in Dubai?
While painting might seem simple, doing it right requires skill, tools, and experience. Professional painters not only save you time and stress but also:
-
Use premium paints suitable for Dubai weather.
-
Prepare walls properly for a long-lasting finish.
-
Deliver clean, flawless work with no mess.
-
Provide color consultation to match your villa style.
🎯 Final Thoughts
Painting your villa’s interior and exterior is an investment in both beauty and durability. By following the correct process — from preparation to finishing — you can ensure walls look fresh, vibrant, and protected for years to come.
If you’re planning to repaint your villa in Dubai, always choose a trusted painting service that understands the local climate and uses high-quality paints. The result will be a home that not only looks stunning but also stands strong against the weather